In this article we will try to explain step by step in the simplest possible way how to create a working environment to perform an ethical hacking on an Android device application, so that it can be done by anyone regardless of the knowledge they have.
The first step is to create a working environment to start an audit of mobile applications on Android. To do this, we will look at several mobile device emulators and choose one in which to mount our environment.
Some emulators on the market
First, let’s explain what an emulator is. This word comes from the Latin word aemulātor (emulates), which means something that imitates the operation of something else. Wikipedia defines it as follows: “In computing, an emulator is software that allows programs or video games to run on a platform (either a hardware architecture or an operating system) different from the one for which they were originally written. Unlike a simulator, which merely attempts to reproduce the behavior of the program, an emulator attempts to accurately model the device so that the program works as if it were being used on the original device”.
Once this concept has been explained, we will go on to name some of these emulators that we can find on the market:
- Android Studio: We start the list with the software that we are going to mount our environment on. In this case, we are dealing with an official tool and we do not have to worry about adware (software designed to display advertisements on the screen) or that it includes dozens of preinstalled applications.
- Genymotion: Another of the most popular emulators, this one offers both a desktop version and one in the cloud, which consumes much less computer resources. The only “downside” is that it is focused on developers, so it may seem a bit more complex to the average user. In addition, note that this time we find a limited program in its free part and with all the features in its paid version.
- BlueStacks: This is one of the most veteran and well-known tools to emulate. In this case we find an interface adapted to computer desktop, so we would not see it as a mobile, so it is usually used mainly to play.
- NOX: Another emulator focused on games.
- Visual Studio: Free emulator, fast and has several device profiles that allow emulating a wide variety of Android hardware.
- MEmu Play: It is another alternative focused on games, that is, the whole experience and interface is adapted to play Android games on a PC.
Installing the Android Studio Emulator
As we have already mentioned, we will choose Android Studio as the emulator for this environment, but you are free to use any of those previously exposed. Our host machine will be Windows.
We continue our search in Google for “Android developer studio” and it shows us the following:
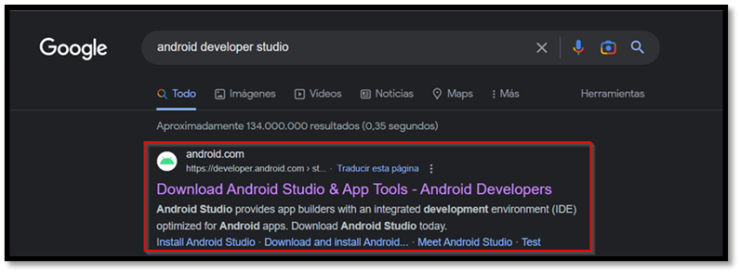
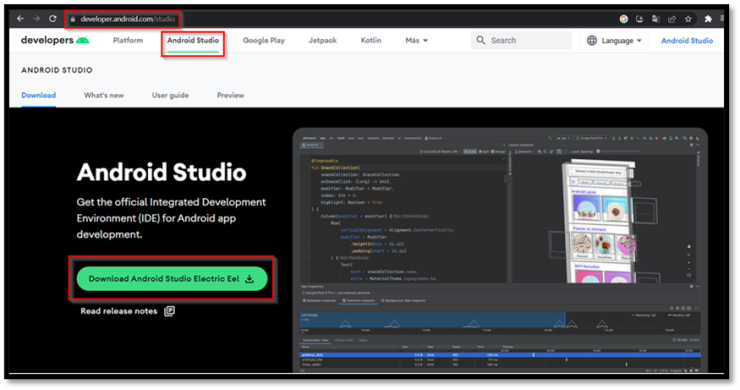
We provide the link in case you want to go directly to the page: https://developer.android.com/studio
On the page, click on “Download Android Studio Electrio Eel” to start downloading the installer.
We will see a box with the conditions and legal terms where we must mark the agreement and click on “Download Android Studio Electrio Eel | 2022.1.1 Patch 2 for Windows” and now yes, the download will start.
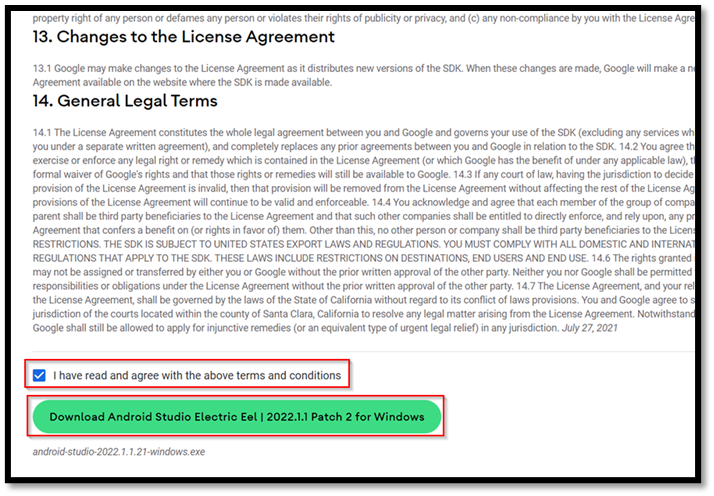
As we can see in the following picture, it will download an “.exe” file, which we will double-click to start the installation.

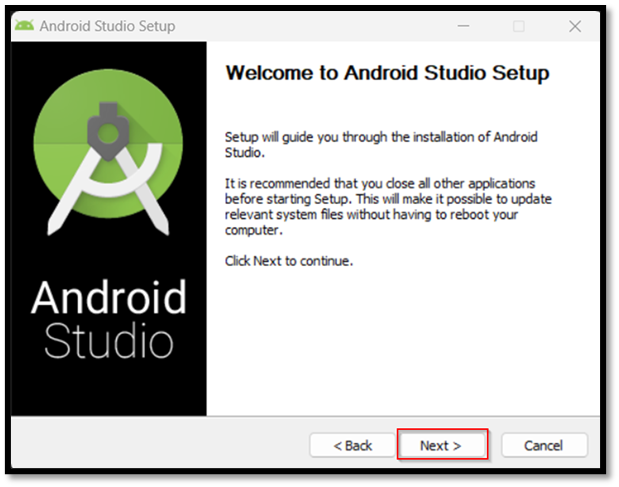
Then the installation panel will open and we will click on “Next” to go to the next screen.
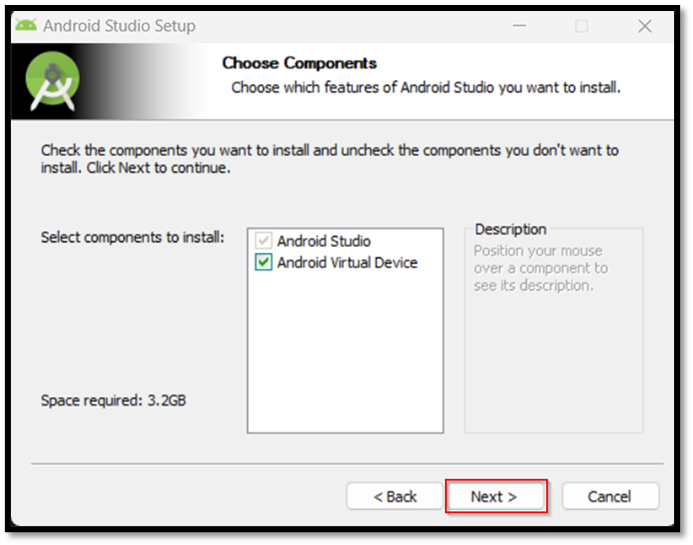
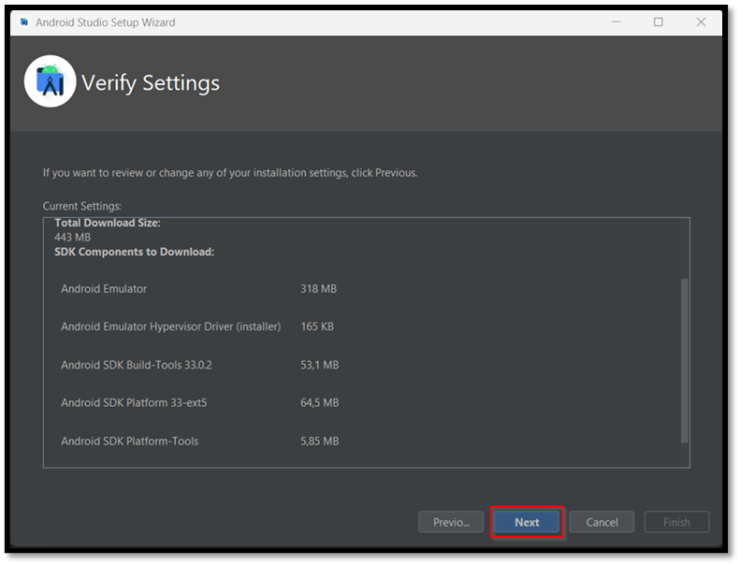
The next screen will show us the components to install. Leave them as they are by default and click on “Next”.
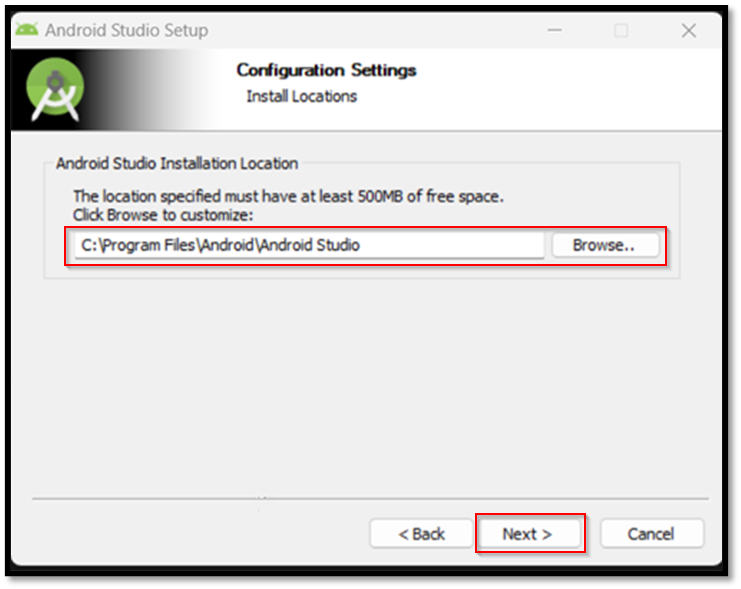
Next it will show us the path where it will be installed, indicating that it must have at least 500 MB of free space. In “Browser” we will be able to change this default path if we want.
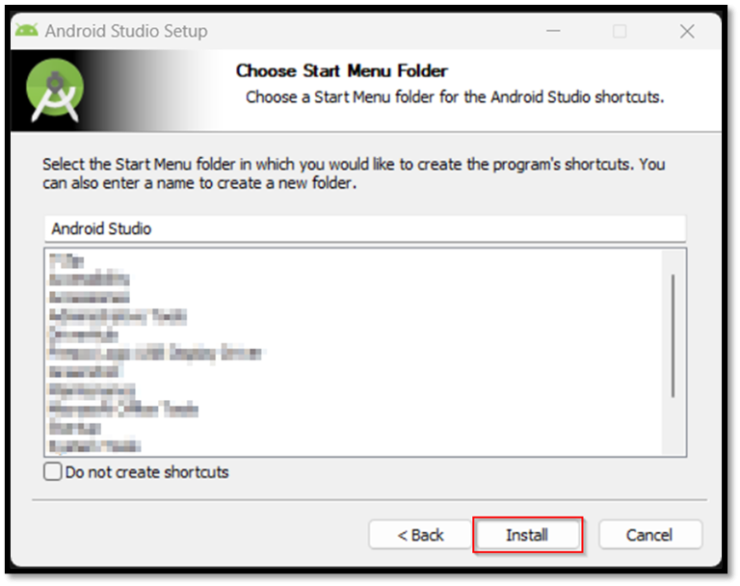
We will then be asked if we want to create a shortcut, as shown below.
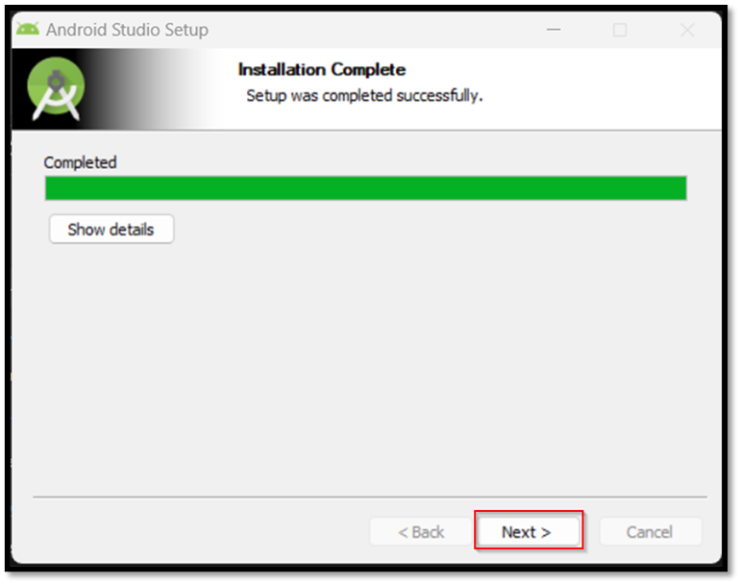
When the download is finished, click “Next”.
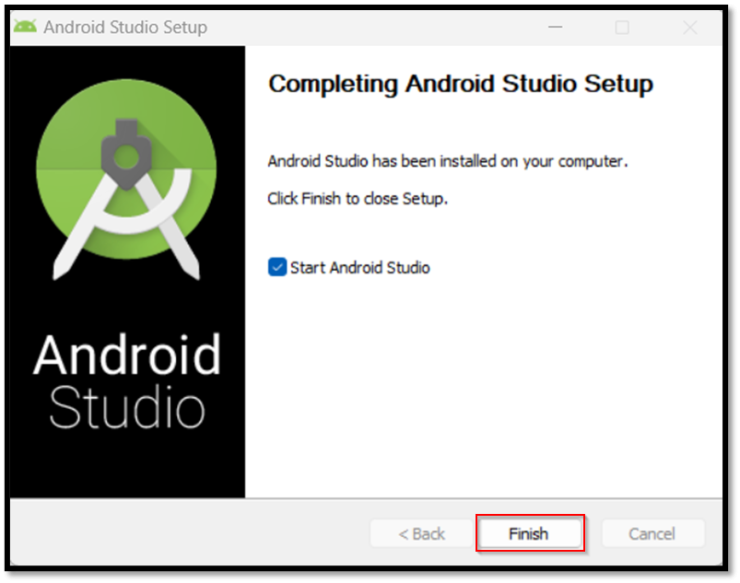
Finally, we will click “Finish” on the next screen.
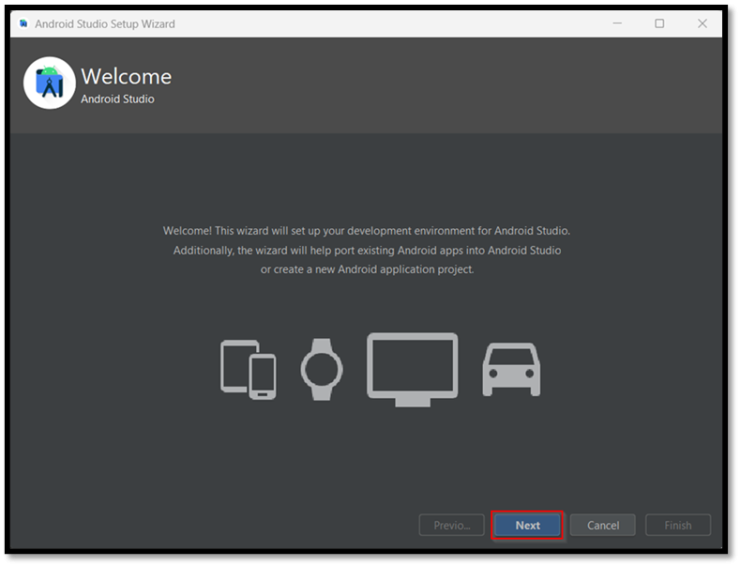
Once we have finished the basic installation, we will start configuring the tool by clicking “Next”.
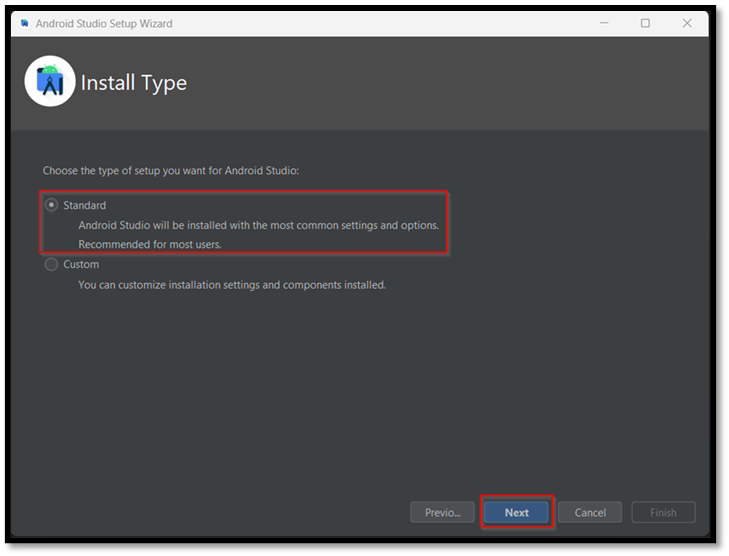
We will choose the “Standard” installation because it is sufficient and will save us time and some headaches.
In the next section we select the theme we want to use, by default there are two installed: the light theme and the dark theme. In our case it will be “Darcula”.

And we continue with the installation of the add-ons necessary for using the tool by clicking “Next”.
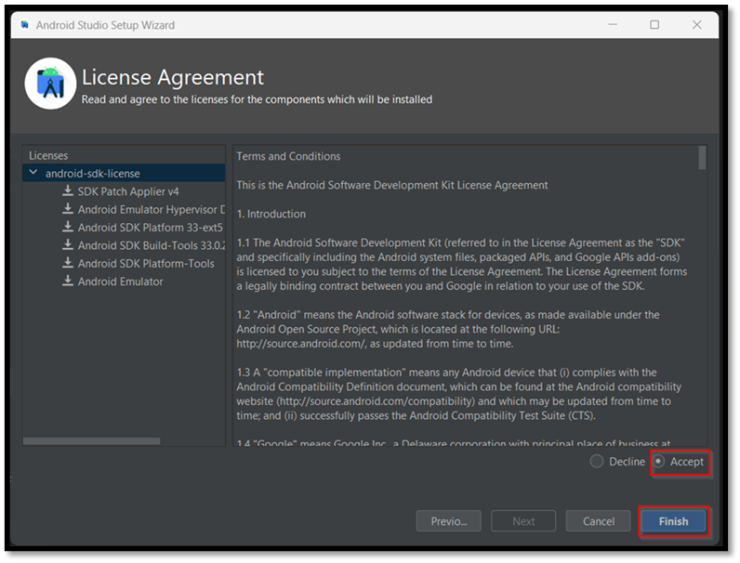
We accept the terms and conditions and click on “Finish”.
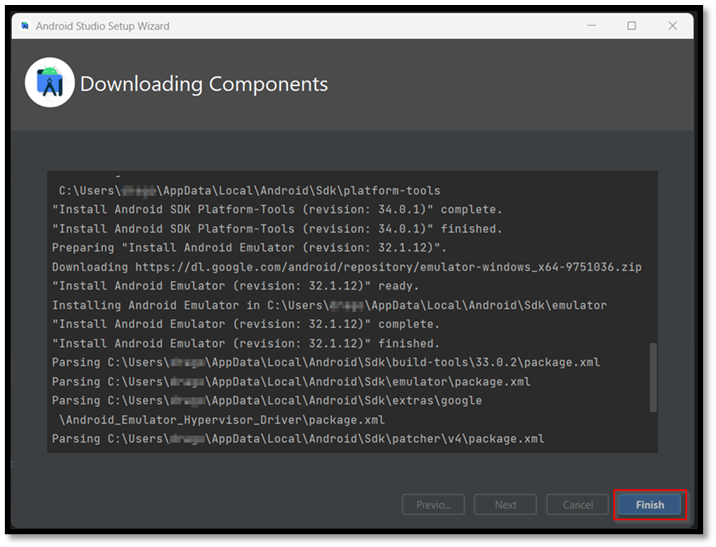
We will see the download of the packages begin and when it finishes we will click on “Finish”.
When the installation is finished, the Projects panel will open.
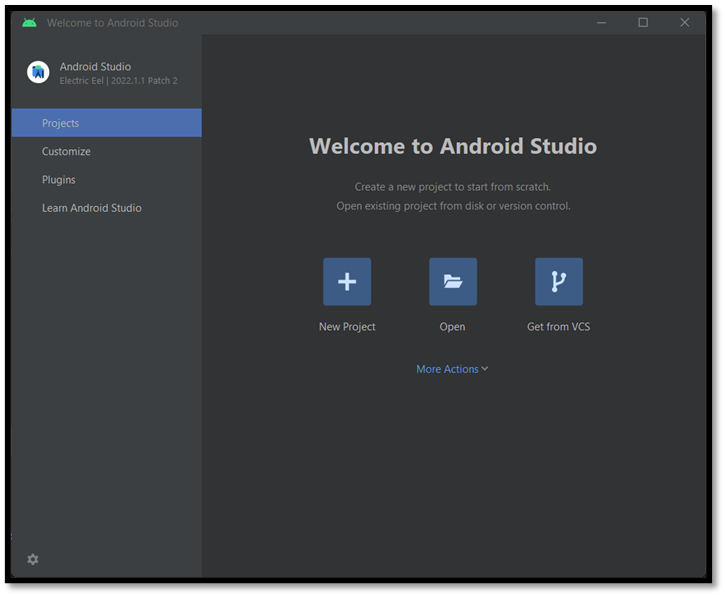
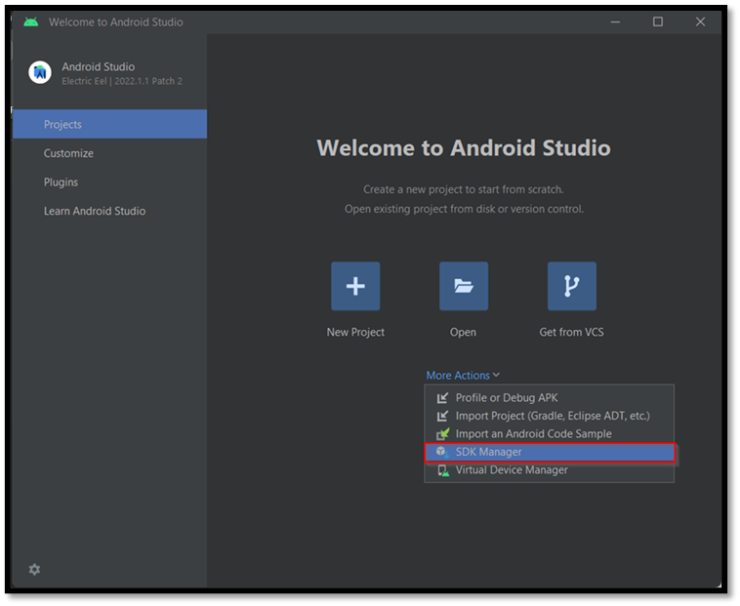
In the drop-down menu, select “More Actions” and then the option “Virtual Device Manager” to create our Android device:

NOTE!!! Sometimes this option is blocked. If this happens, what we will do is select the “SDK Manager” option located just above:
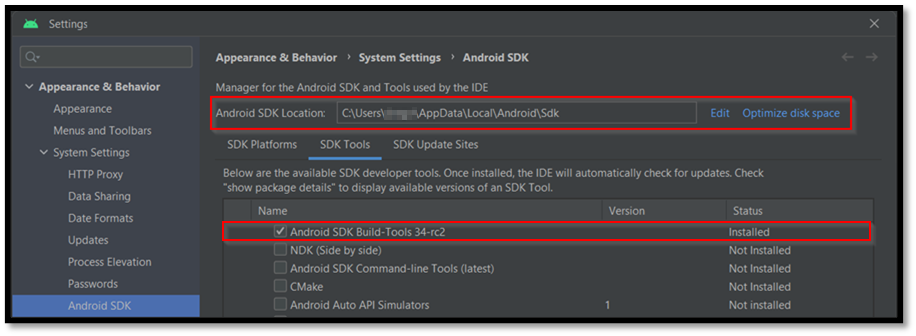
The following window will open, where we will have to check two things in particular:
- The path “Android SDK Location”, if it appears in red, it is because the path is not valid and we need to provide a supported one.
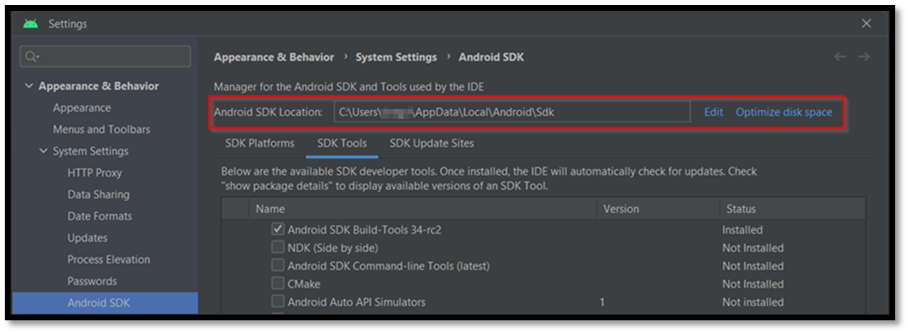
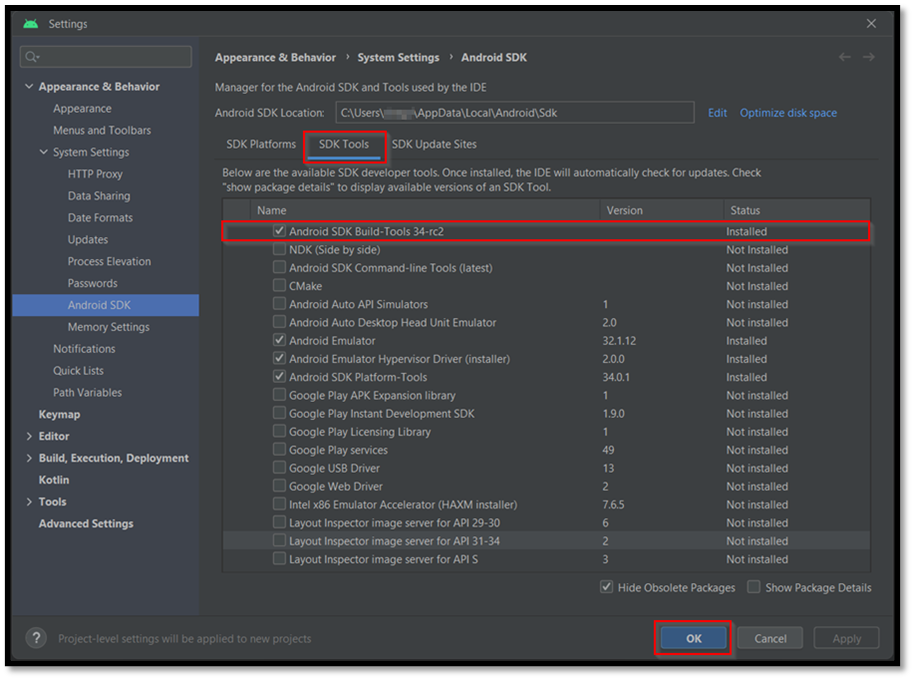
- In the “SDK Tools” tab, we need to check if we have installed the “Android SDK Build-Tools 33” package. If not, select the square to the left of the package and click “OK” to download and install it.
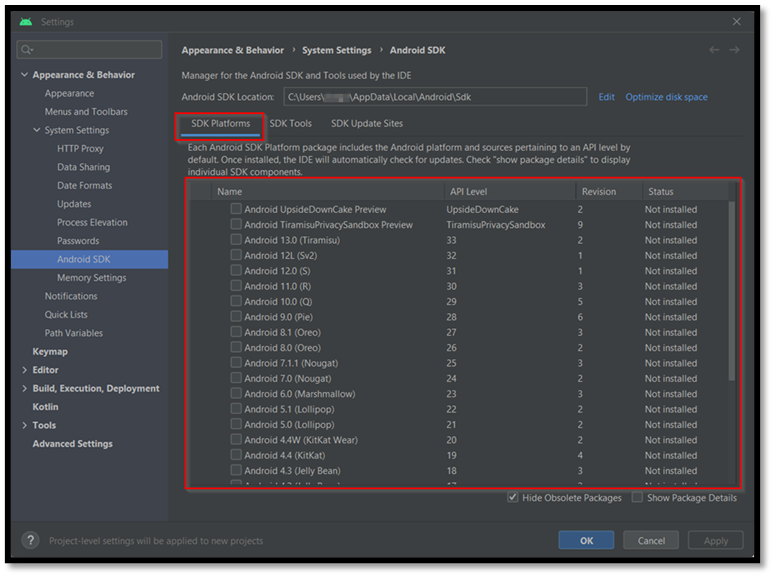
For information, in the “SDK Platforms” tab we can see and download the different versions of Android that we can install on the emulated devices.
We will return to the previously mentioned “Virtual Device Manager” option to start creating the device.

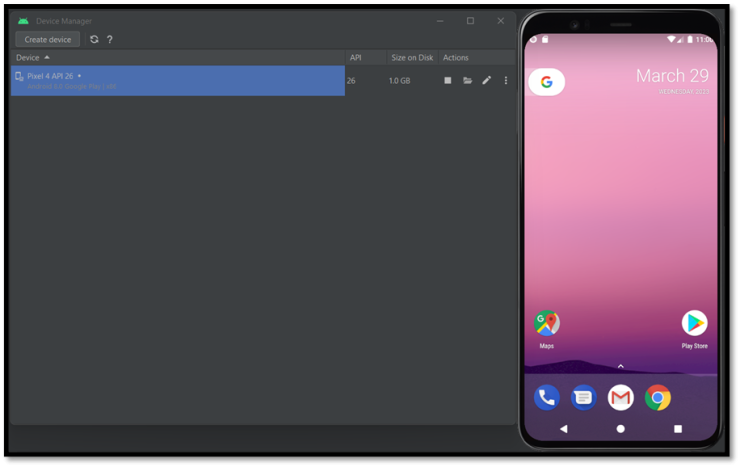
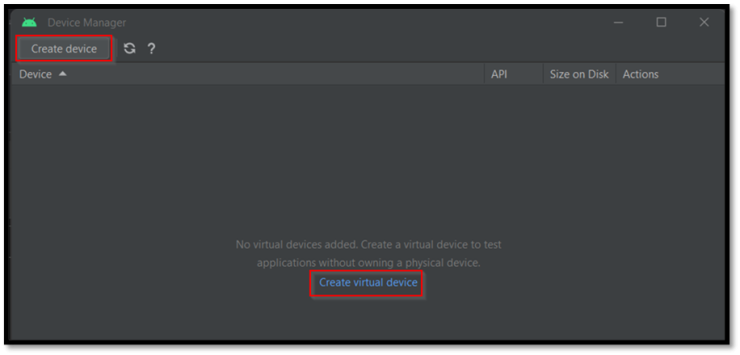
The following window will open and we will select the “Create device” button or the link with the same name located in the middle of the body of the sale.
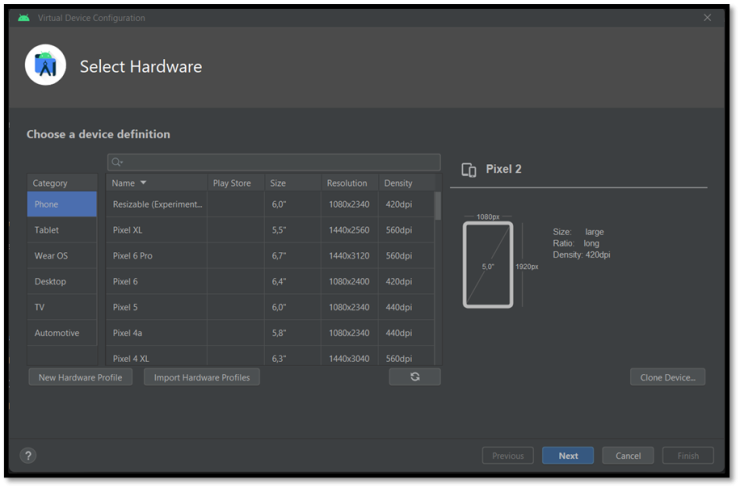
The following window will appear with the categories and characteristics of the devices that can be found on the platform.
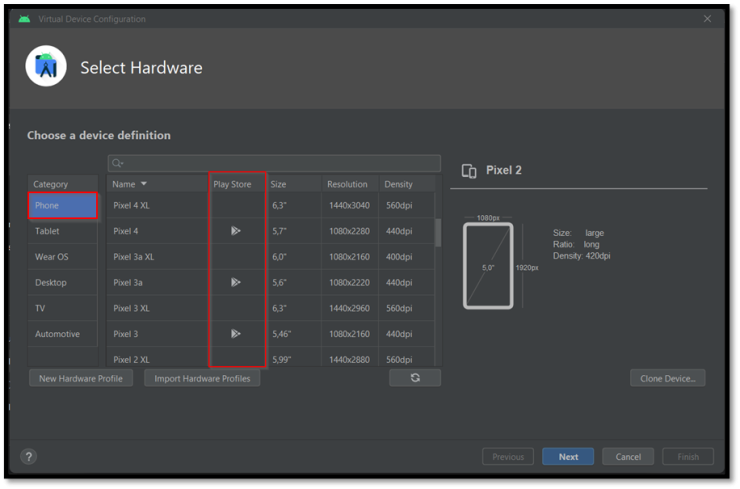
We will be able to see how all the mobile models present a column called “Play Store”, where the logo of this application will appear or not, depending on whether it is installed or not. This feature will facilitate the installation of applications available on this platform.
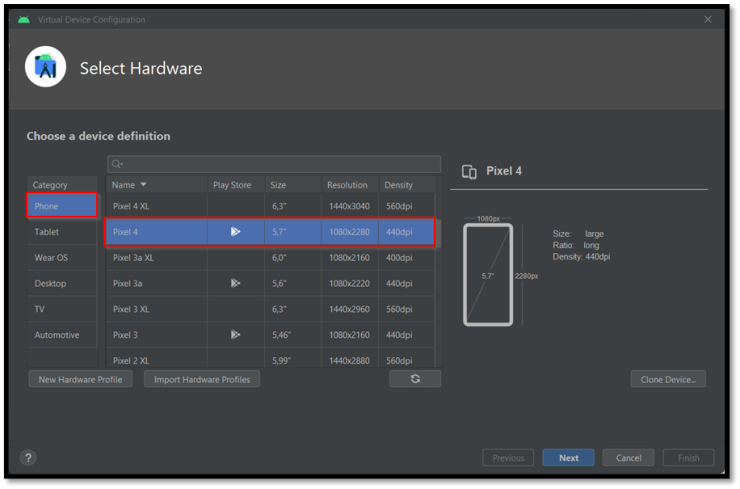
In the following screenshot, we will see that our choice will be a Pixel 4 model with the Play Store application installed and we will click on “Next”.
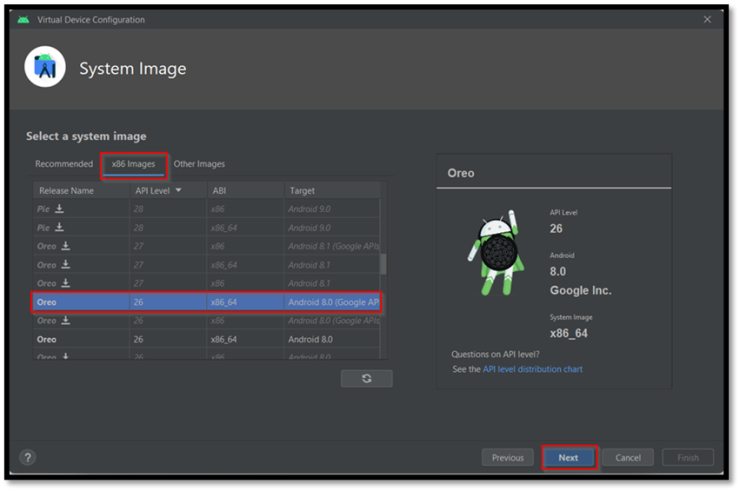
In the next screen, we will select the version of Android that we want to install. At the top we will see three tabs that will tell us the recommended images, those that are x86 and other images.
We will select the image of the Android version we want to install and download it by clicking on the arrow to the right of the version name. In this case, we have selected Android 8.0 (Google APIS), which also has the Google Play service installed, on x86_64 architecture and click “Next”.
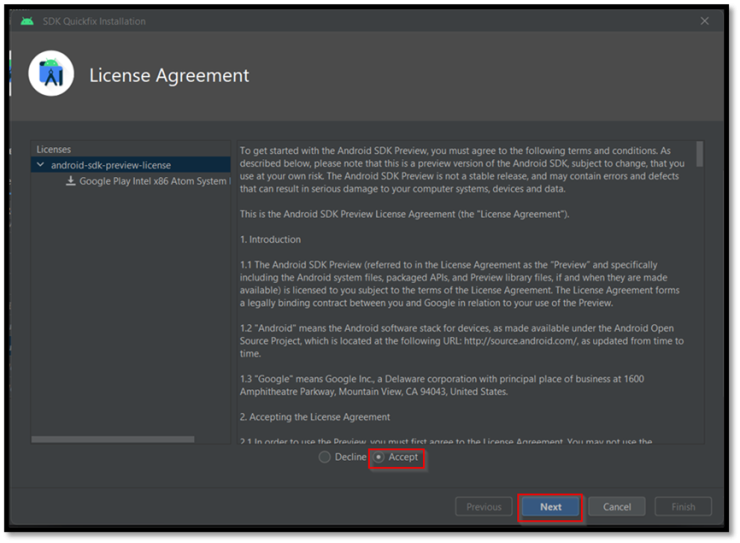
Accept the license agreement and click “Next”.
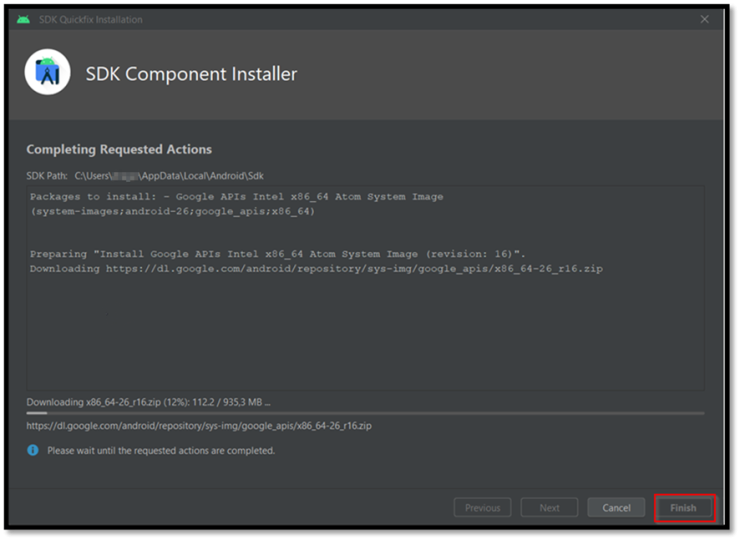
When it finishes installing all the selected components, click “Finish”.
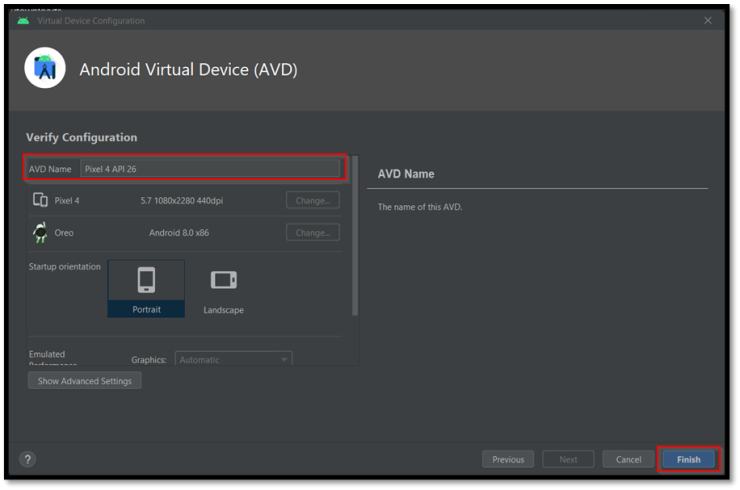
Later it will show us a window with the summary of the characteristics of the device that we have configured and here, in “AVD Name”, we will be able to change the name of the emulated terminal and we will click on “Finish”.
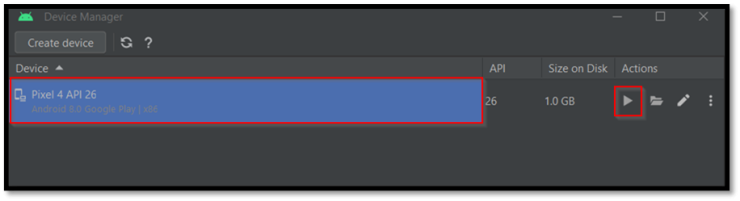
Once the device is loaded, it will show us a window where we can start it, see where it is stored, edit the configuration and see the terminal configuration. In the picture we highlight the boot button.
And we will see how it opens a new window with the terminal with the mobile in operation.

Installing and Running Android Debug Bridge (ADB)
Android Debug Bridge is a command-line tool that allows us to communicate with the mobile device and execute various commands to perform different actions, such as accessing the device, copying or deleting information, installing or uninstalling applications, etc.
When you download Android Studio, it is usually included in the “SDK Tools” folder mentioned above under the name “platform-tools”.
However, if you can’t find it, you can download it from the following link
https://developer.android.com/studio/releases/platform-tools
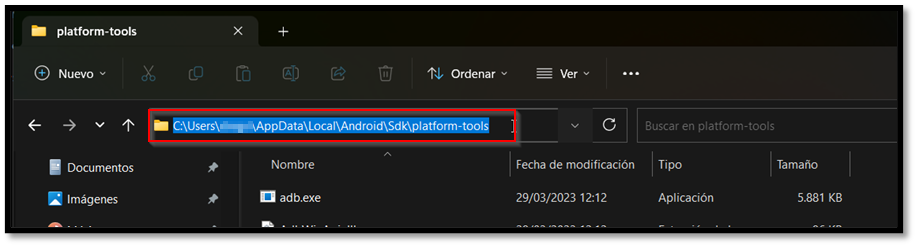
Once found or downloaded, we will access this folder and open a cmd.
The path is usually C:\Users\USUARIO\AppData\Local\Android\Sdk\platform-tools
We will run adb.exe to see the possible options that the tool has.

From the same console, we will be able to use some of the following commands:
- adb devices: Lists the emulators currently attached to the system.

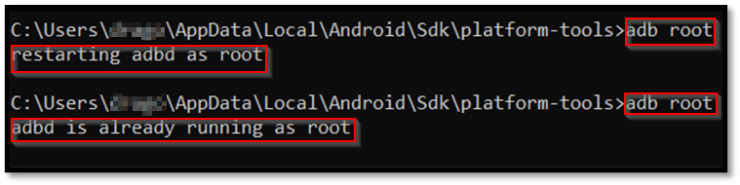
- adb root/unroot: Restarts the client with root privileges or without root privileges (unroot). Note that you must be root to perform most actions.
- adb push/pull [path_to_file]: This command allows us to send a file from the computer to the mobile device (push) and from the mobile device to the computer (pull).
- adb install/uninstall [path_to_apk]: Installs or uninstalls an application.
- adb shell: Allows console access to the device (remember that Android is a Linux system, so the commands are the same as in our Kali).

- adb reboot: Forces the device to reboot.
Installing the Android Debug Bridge
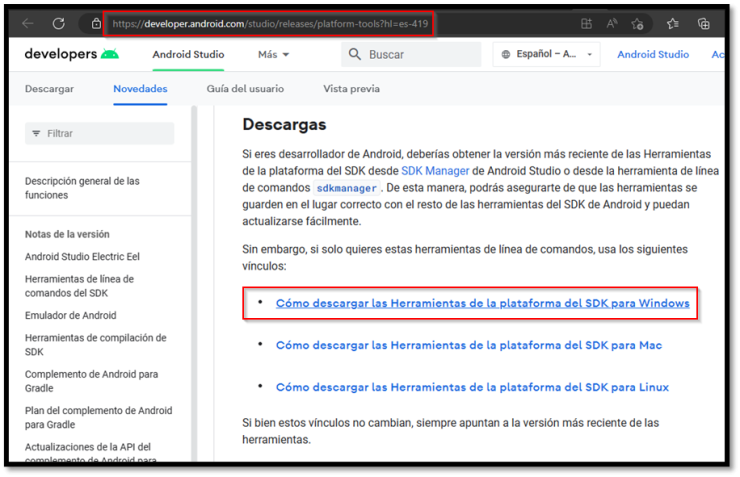
If you do not have the Android Debug Bridge installed, here are the steps to download it. You can download it from the following link: https://developer.android.com/studio/releases/platform-tools
In our case, we will click on “How to download the SDK platform tools for Windows” as you can see in the following picture.
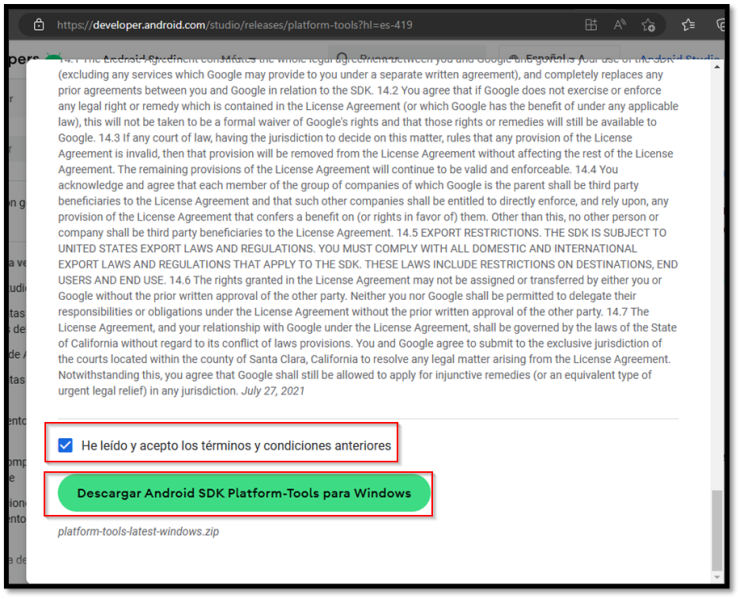
Accept the terms and conditions, click “Download Android SDK Platform Tools for Windows” and a zip file containing the tools will be downloaded.
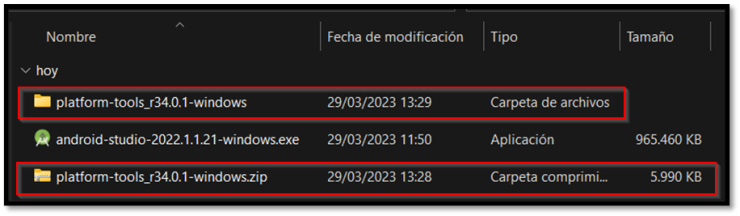
Extract the .zip file, which will be saved in our download folder or the one we have configured for downloads.
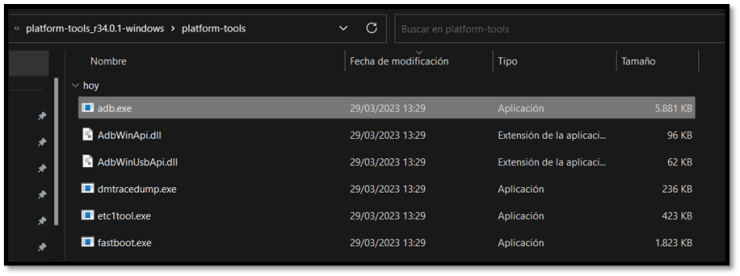
Browse to the “platform-tools” folder.
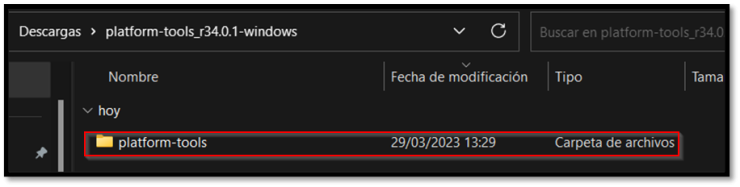
We see that there is an executable “adb.exe”, we open a cmd and run “adb.exe”.
At this point we would return to the previous section “Installing and Running Android Debug Bridge”.
Up to this point, we have our test environment running with the mobile emulator.